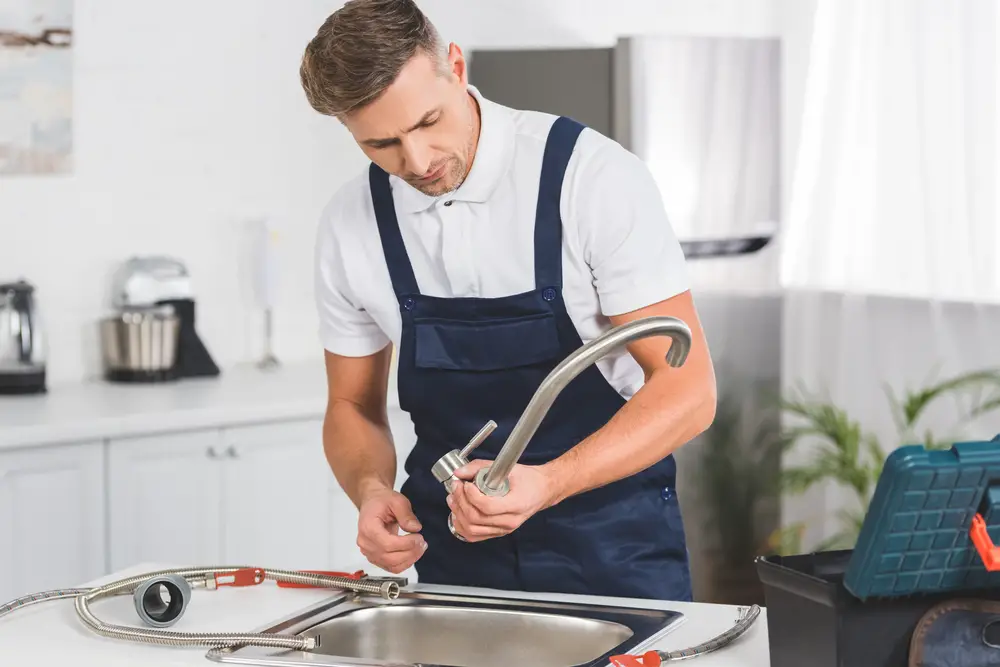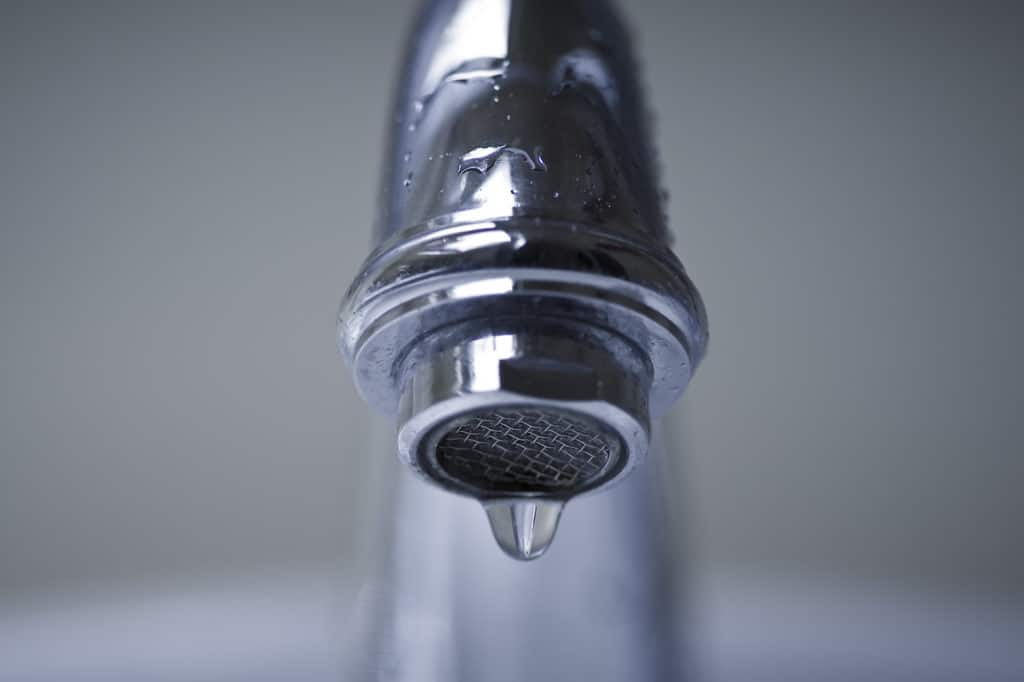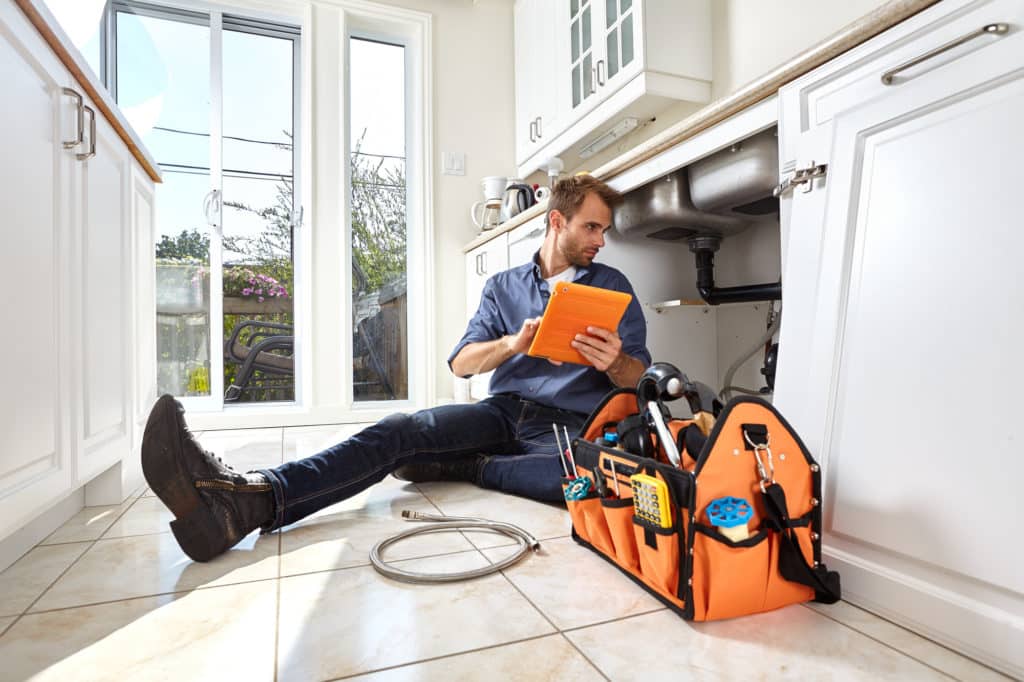


Leaky faucets can be an inconvenient household nuisance that wastes water and raises utility bills. Just as preventing frozen pipes in winter is crucial for a healthy plumbing system, preventing leaky faucets is equally important. But fixing a dripping faucet doesn’t need to be complicated or always require professional plumber services. In this comprehensive guide, we’ll walk you through how you can fix a leaky faucet by yourself, stopping those annoying drips and saving both water and money in the process!
Before we proceed, it’s important to keep in mind that different kinds of faucets require differing approaches for repairs.
Types Of Faucets
To address this issue effectively, it’s essential to recognize the various types of faucets involved.
- Compression Faucet
- Cartridge Faucet
- Ball Faucet
- Ceramic-Disk Faucet
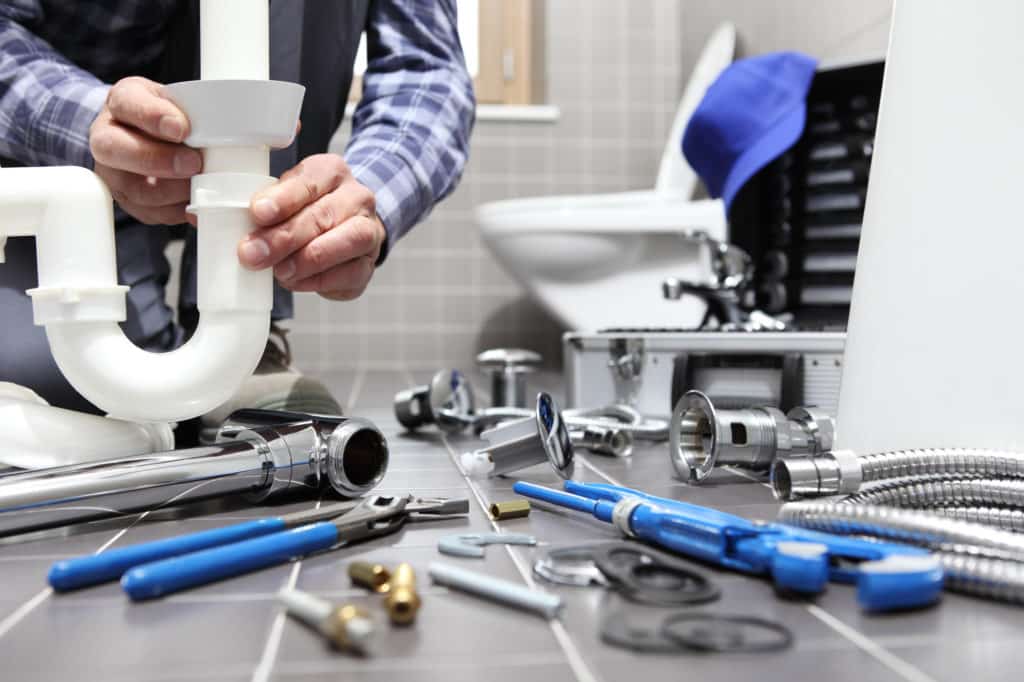
Necessary Tools and Materials To Fix Leaky Faucet

Here is the list of tools and materials required to fix a leaky faucet.
- Adjustable wrench
- Screwdrivers (both flathead and Phillips)
- Plumber’s tape (Teflon tape)
- Replacement parts (washers, O-rings, springs, ceramic disks, etc.)
- Towels or rags
- Bucket or container
- Penetrating oil (e.g., WD-40)
- Adjustable pliers
- Allen wrench (hex key)
Make sure that you have all of the above-mentioned items. After gathering all the necessary tools and materials, begin the repair process right away!
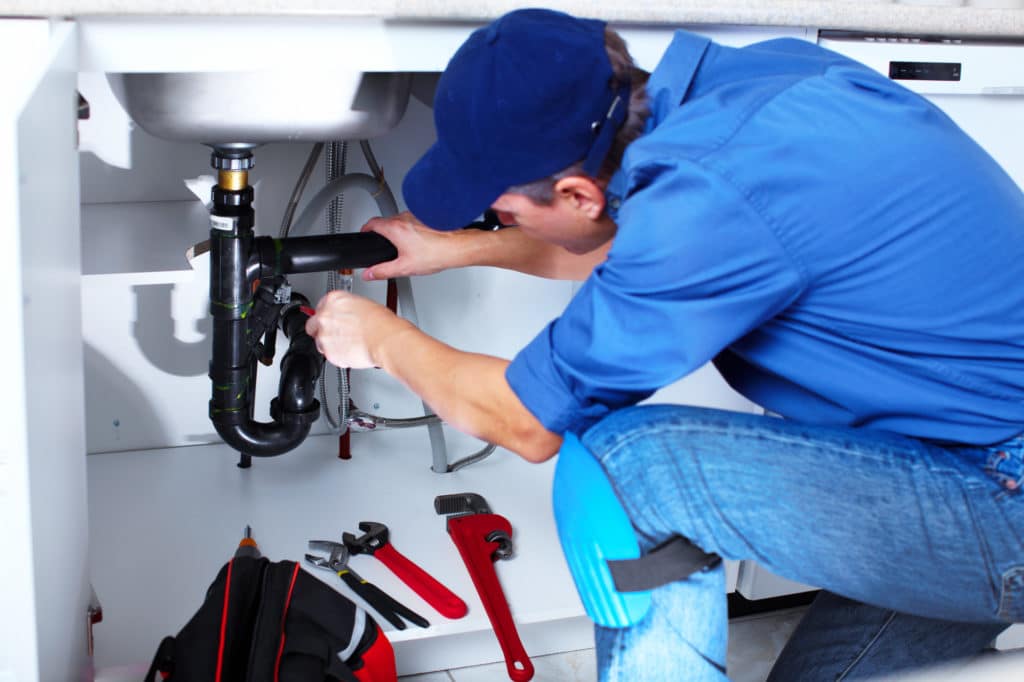
Step 1: Turn Off the Water Supply
Before disassembling a faucet, it’s essential to turn off its water source. You can usually do this by finding shut-off valves beneath your sink and turning them clockwise, or alternatively switching off all primary water sources for your house if there are none individually accessible.
Step 2: Identify the Type of Faucet
Once the water supply has been cut off, the next step should be identifying your faucet type and model number. Above, we have mentioned key types of faucets; you have to determine which one is yours. This knowledge is crucial as it will guide you in the right direction for the repair.
Step 3: Fixing a Compression Faucet
Compression faucets are among the more traditional styles and are relatively less complex to repair. Here’s how:
- Employ a flathead screwdriver to remove the decorative cap on the handle.
- Subsequently, after removing the cap, utilize the same screwdriver to carefully detach the screw that keeps the handle in place.
- With that done, use an adjustable wrench to unscrew the packing nut that secures the stem in its place.
- Remove the stem and locate a rubber washer on its end; this could be the source of leakage!
- Replace this washer with a new one and check for other damaged or corroded components necessary to replace.
- Reassemble your faucet carefully in reverse order, ensuring everything is secure.
Step 4: Repairing a Cartridge Faucet
Cartridge faucets are pretty durable as well as easy to use. Here’s how to repair them:
- Remove the decorative cap on the handle by prying it off using a flathead screwdriver
- Utilize a Phillips-head screwdriver to extract the screw securing the handle.
- Gently pull off the handle to access its cartridge; use pliers if it gets stuck.
- Once the cartridge has been disassembled, scrutinize it for damage and any leaks.
- Leaks are often caused by worn-out O-rings. If it is so in your case, replace the old O-ring.
- Tighten everything back together carefully using reverse order disassembly for best results.
Step 5: Fixing a Ball Faucet
Ball faucets are slightly more complex but can still be repaired by following these steps:
- Remove the handle by prying off its decorative cap using a hex key (Allen wrench) and then unscrew its screw.
- Use pliers to separate the faucet’s components ( collar and cap).
- Underneath the collar, you’ll find the faucet’s cam and ball assembly. Carefully lift this assembly out.
- Inspect the rubber seals and springs in the assembly. If they are damaged or worn, replace them.
- Don’t forget to apply the plumber’s grease to the seals before reassembling the faucet.
Step 6: Repairing a Ceramic-Disk Faucet
Ceramic-disk faucets are known for their longevity and reliability. To repair a leaky ceramic disk faucet, follow these steps:
- Remove the handle by prying off the decorative cap and using a hex key to remove the screw.
- Unscrew the disk cylinder from the faucet body.
- Lift out the ceramic disk assembly and check for any cracks or damage. If you find any issues, replace the assembly.
- Reassemble the faucet, making sure all parts are tightly secured.
Remember, even with a guide at hand, things can sometimes take a turn for the complex. If you find yourself in a bind while addressing that stubborn leak, don’t hesitate! Plumbing Pros DMV offers specialized plumbing services in Alexandria and proudly serves the surrounding Virginia areas, including Gaithersburg and Germantown. Our expert plumbers are just a call away, ready to jump in and ensure your home remains leak-free.
Conclusion: Enjoy a Leak-Free Faucet
Do not let a leaky faucet be an unnecessary source of inconvenience; with the right tools as well as knowledge, you can easily repair a leaky faucet yourself. Identify the type, gather your tools, make the necessary repairs, and enjoy a leak-free faucet. Say goodbye to the constant dripping and hello to peace of mind!
DMV Plumbing offers a wide gamut of services, including faucet repair in the Alexandria, VA region. Call us today for leaky faucet repair and to fix plumbing issues. We are available 24×7 to help you.